


We feel like there are two kinds of people right now. Well, aside from the actual heroes on the frontlines. We can’t thank you enough for your incredible and essential service. But for those at home, there are those who desperately need house projects to fill these days (and give us purpose) and make their house even homier. Then there are those who don’t want to feel guilty about watching the news and marathoning shows (and should feel no guilt – we all process our own way). This post is for the former. I’m in the “have to stay busy” camp and now that the kids are older I LOVE making things with them. So now more than ever I’m looking for easy fun projects that we can do together to create memories, keep them and us busy, as well as add style and personality to our house. So here we go – our first DIY challenge is for those of you who are interested in creating an easy, affordable piece of art for your home or at least watch us do it. I suggest you take Julie’s into high consideration because we all LOVE it and undoubtedly you will too. We also (to keep things super fresh) searched the internet for some of VERY cool and fun ideas. This post is packed, people.
Over the years the EHD team has created a lot of art, mostly because art is a great way to bring in some personality to your home. We all know that art can be expensive, so we are always looking for affordable ways to create our own (and bonus points if the supplies might be in your garage already). Let’s get to it:
Taped Pattern on a Drop Cloth

Years ago Orlando and I made that massive piece of art with a drop cloth and a frame we built. Then we taped out a pattern and framed it. Now, this is a BIG project, but the idea behind it is so simple and could obviously be much smaller in scale. Also, you don’t have to have a fancy canvas, most fabrics could do (and a painters drop cloth is honestly GREAT).
Potato Stamp Inspo
Now I want to be VERY clear – this stamped art is by Rebecca Atwood (who we love) and was not DIY’d. But we saw that she is even promoting it on her blog as a great DIY and has outlined how to do it. She is THE master so you are in good hands. It’s made with a potato and paint, two things a lot of us have lying around (maybe).
Pressed Flowers

Maybe one of my favorite pieces of art that involved the kids is the pressed flowers that we framed (in Ikea frames) above. They collected them last spring from the backyard. Some we pressed traditionally (with wax paper and heavy books, over weeks) but most we sped up the process by using this press that you can microwave. Then we simply used super glue to lightly attach to the paper and keep it really quiet and minimal. It is so pretty, such a good memory and the kids signed it at the bottom with a ‘spring 2019’, too.
Kids Art (Upgraded)

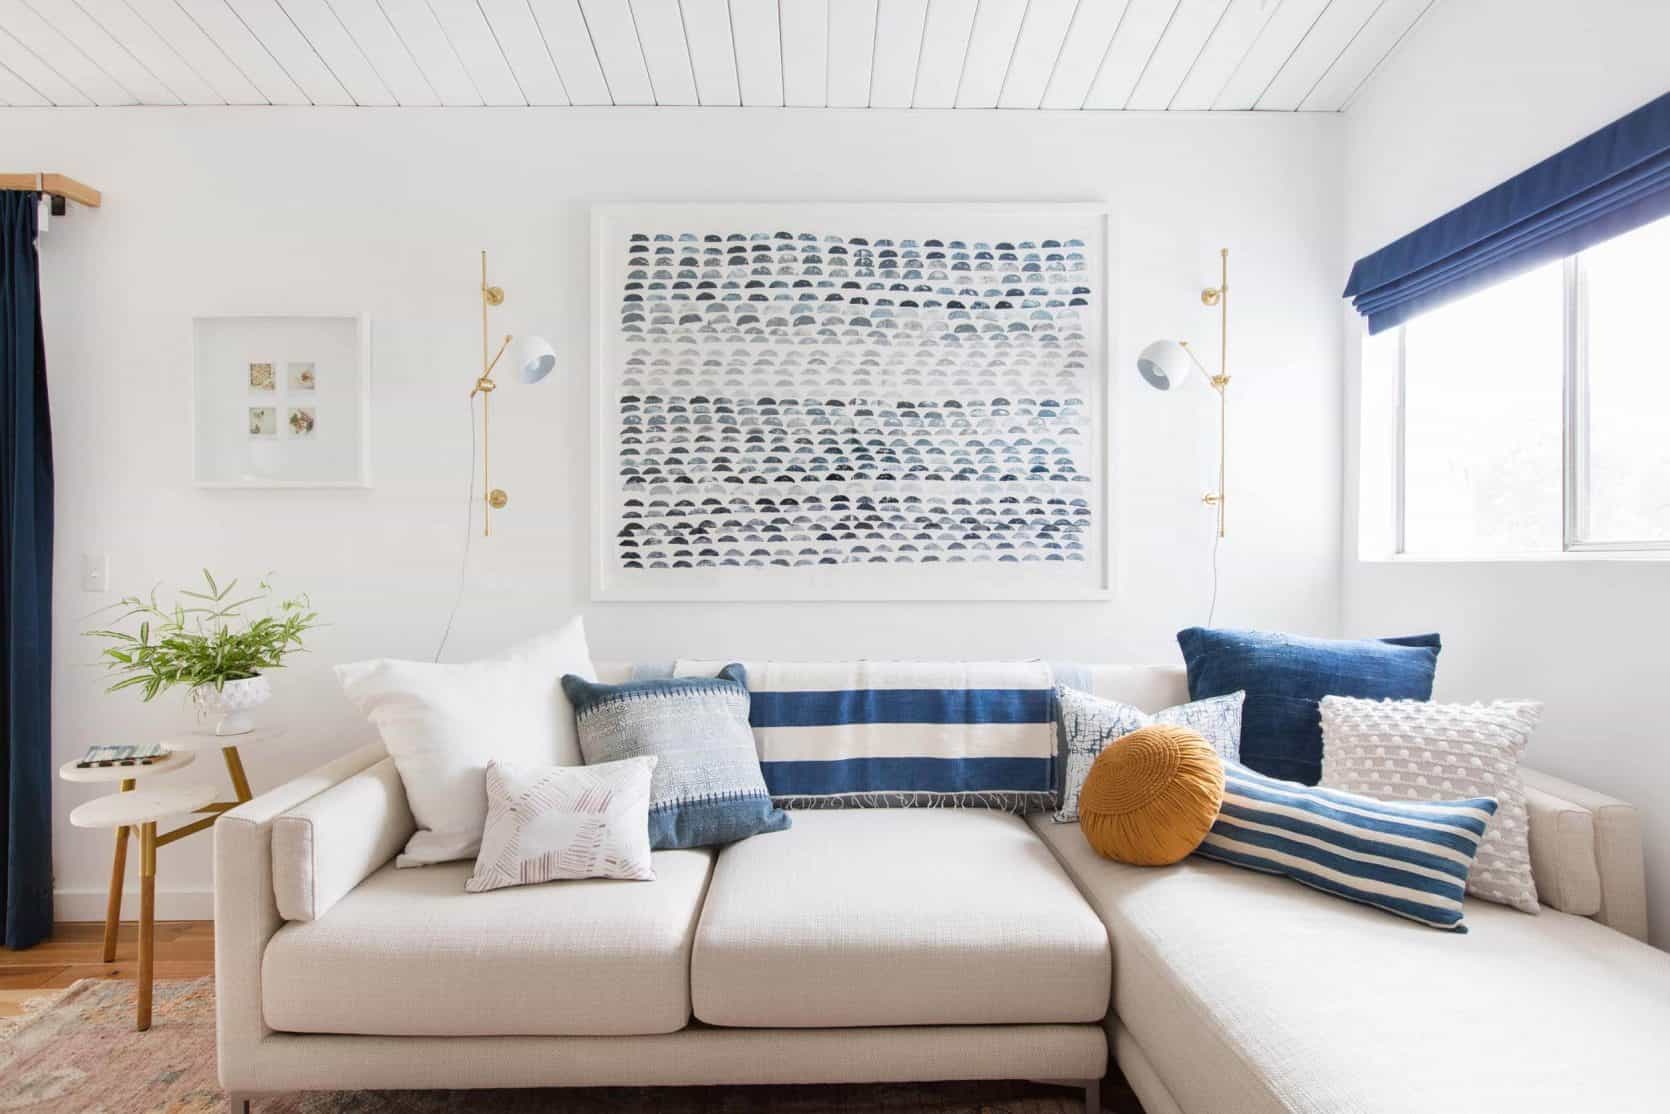
We have a whole sentimental art wall in our house and it brings me serious joy (said as a true mom, no sarcasm at all). On it, we have kids art (the big blue piece), a framed origami (a playful sculptural cat), self-portraits of them (done with a mirror at their school) and framed kids polaroids (I love my polaroid printer so much).
And now let me hand it over to EHD’s Lead Designer and our resident DIY aficionado, Julie…
From Julie: Adding a DIY into a design project is nothing new around here. Whether it is big one like the window treatments and tent canopy for the kid’s bedroom in the mountain house or small like the pillowcase cover I am always up for it because that extra bit of customization to a space will make it feel more personal and unique to you. That’s why for my own MOTO I included a couple of my own DIYs, one of which is the art piece below, take a peek!
Layered Torn Paper

This piece is so subtle that you might’ve missed it in my bedroom reveal earlier this year. I already had a lot going on in that small, small room of mine but I still wanted to hang something above that vintage folding chair to balance it out between the windows. So, I decided to make one of the most simple yet time-consuming pieces of art I’ve ever done. It’s basically layered torn paper adhered together with some double-sided tape. I already had a left over frame and picked up a kid’s art roll on my last (fingers crossed) trip to IKEA. Initially, I wanted to do something similar to this but then realized that the scale is what made that piece so cool. So instead, I channeled my design fundamentals year in art school and ended up with this.
What You’ll Need:
Step One: Measure the length of your frame. I used the 19″x27″ Ribba Frame from Ikea so my initial length is 27″ long.
Step Two: On your paper roll measure and mark with the pencil to 27″. Hot Tip: On the longer pieces it is best to measure & mark both sides for folding in the next step.
Step Three: Fold the paper to the marks and use the washcloth to make the fold damp. Reverse the fold and repeat with the washcloth on the other side. (FYI dampening of the paper makes it easier to tear)
Step Four: Slowly tear the paper along the damp crease. It doesn’t have to be perfect since the idea is to get the edge to look “frayed”.
Step Five: Repeat Steps 2 – 4. Reduce the length of the piece of paper by 1″ each time. By the end you should have papers that range from 27″ long all the way to one that is 1″ in length.
Step Six: Lay down the largest piece (27″) and then the 26″ piece on top of it. The smaller piece of paper should be even in the middle of the larger piece. They should overlap by 1/2″ on either side. Use a piece of tape on all four corners of the backside of each new piece of paper being laid down to secure it. Repeat the process until you have the 1″ strip paper in the very middle and on the top.
Step Seven: Frame and hang it!
Next up, another innovative GIY from our lovely EHD alum, Emily B:
Mixed Media

At the end of 2019, Emily B. revealed her cozy living room which included three original artwork pieces above her sofa, created by none other than herself along with the help of Velinda, me and a couple of bottles of wine. This DIY art has no rules except for one, every time you contribute something to the paper you must shout “ART” and take a sip. So grab all those random pieces of paper, some string, paint and just have fun with it.
Polaroids

If you have a ton of old Polaroids or old vintage photos in a shoebox under your bed (or high up in that closet), you can create a large and personal art piece like Sara and Arlyn did for their living rooms. Just make sure your photos are all the same size to create a perfect grid! And not to keep plugging this magical machine, but if you don’t have a bunch of polaroids handy and but want to create something like this with old photos from your photo then this printer is your answer.
We aren’t the only creative souls on the internet (duh), so we wanted to share some of our favorite seasoned DIYers and man do they have some ideas that we would love to recreate while we are all staying indoors. And actually I think some of us will this week…stay tuned:)
Dimensional Geometric

Our very own Mallory has been eyeing this 3D wall art DIY (we are big fans of nontraditional art) from Design Sponge for a long time now and is ready to give it a go this weekend. It’s made from balsa wood which was one of my favorite materials to use to build models in school since it’s so easy to use and doesn’t require any heavy machinery. I would love to see someone recreate this in a colorful version as well. 🙂
Vintage Modern

If I am ever in need of some DIY inspiration you know that I am checking out Paper & Stitch blog by Brittni Mehlhoff. We met her while working on the Invitation Homes project in Atlanta. She is so crazy talented that she DIY’d this desk on-site for under $100. Whoa. I was thoroughly impressed with her. This simple and yet effective DIY proves that those vintage portraits aren’t just meant for lovers of the Eccentric English Grandma trend. A few pieces of construction paper later and you have yourself a mixed media contemporary piece of art.
Abstract

Another easy one by Paper & Stitch is this abstract statement art which you can make to be bold and colorful or neutral and textured. She also did this post about 5-minute Art Hacks that are so achievable with items lying around the house, like a pretty tea towel or leftover wallpaper.
Wrapping Paper

Leave it to Oh Joy! to come up with a chic way of displaying your leftover wrapping paper scraps. This one looks like such a fun project to get your kids involved in and for those of us who don’t have kids then down that wine cause you’re not babysitting anyone but yourself this weekend.
Paint Stir Stick

You know when you go to the hardware store for a gallon of paint and leave with 8 paint stir sticks of which you’ll use just one of them?? Well, Almost Makes Perfect has a chic solution for the leftovers. Along with some string, a drill and saw, you will have this hanging on your wall in no time.
Fiber Wall Hanging

Another macrame free wall hanging from Almost Makes Perfect that actually looks soothing to make & is easy to customize. When a material list is only 3 items long I know I’ve found my weekend project. This one requires a small dowel, yarn & a pair of scissors. Tying the yarn to the dowel is the easy part. Cutting it in a straight line after might mean you leave to wine til after unless that’s the lewk you’re going for, then you do you!
Leaf Printing

Similar to the pressed flowers that Emily did in her mountain house, this is a DIY project from Remodelista is fun for all ages. Collect a variety of leaves in your backyard or while taking a walk around the block. Lay them out onto a piece of paper and with another paper on top gently hammer away some of that pent up energy until you see the whole of the leaf on the paper. Slowly peel the paper away and hang it up!
Block Printing

Block printing has been around for hundreds of years so, in my opinion, it can never truly go out of style. That’s why we are showing you this oldie but a goodie (it’s five years old) from Remodelista on how to achieve a budget-friendly block printing. It’s also an easy one to customize with different shapes and paint colors. Honestly, at this point who just wants to finger paint this weekend???
Silhouette Art

Emily again! So if you are like me and want something to do, we are going to create at least one piece of art this week (maybe two). I’m tackling silhouettes of the kids for both their bedroom and a grandma’s birthday present. Wish me luck.
We’d love for any of you that are up for creating a DIY piece of art to show us what you are working on (or if you have previously made something) by using the hashtag #showemyourDIY on Instagram. Then next week when I reveal what we all did we can feature yours, too (as well as repost on stories so don’t forget to hag me (@em_henderson)). I suppose now is as good a time as ever to make art, and I think we can all use a bit more inspiration these days – so we’d be honored if you share your pieces and your original ideas with us. xx


There are also people responding and working their little butts off around the clock, but also enjoying your content as the (literally) one 10-minute break in the day. Thanks for that 🙂
Gwen, you are so right and we by no means meant to leave out all the incredible people who are literally saving our lives during this crisis<3
Sorry! That’s not at all how I meant it! I meant a sincere thanks for the one light-hearted part of my day.
And those whose workload increased a lot when working from home… i have def less time for anything now…
Love them all !!
Julie did such an awesome job and hope you get it to try some!
You guys are seriously knocking it out of the park with your CoCo (CoronaContent)! I loved Emilys more personal posts so much and this one is so helpful!! Thank you 🙂
Thank you so much! So glad you are enjoying:)
That means so much!!
Lol, I’m totally one of the people who is home with the kiddos but there is no way I will be DIY-ing around my house. That being said, I LOVE READING THESE POSTS right now. Thank you for ths diversion and the open hearted giving of yourselves. Love it!
I can only imagine how busy you are but am so happy you are still enjoying:)
all of these look so fun and easy to try!
That’s the hope!!
Emily’s gallery wall at the Mountain House is my favorite! I’ve been meaning to pull out some of my teen’s childhood artwork and origami to frame and redo our gallery wall. It was last done when she was 5 — 11 years ago!
I love all these ideas and can’t wait to get busy making more art, despite my lack of wall space. I’ve been dying to do similar art to Emily B’s since the reveal. In the past, I’ve done leaf prints for a guest room, which is super easy and looks great. I also love vintage linens, so I’ve framed vintage handkerchiefs for art, as well.
And as mentioned by others, there’s the third kind of person working in healthcare, as a first responder, or an essential service. Even my husband, as a tech worker working at home rarely has downtime in his day (so many meetings).
Suzanne, there are no words to describe our gratitude for what you are doing. From the bottom of our hearts, thank you! <3
Thanks, Jess for the appreciation, but I’m not in that third category. I just wanted to acknowledge the friends and family I have who are firefighters, police officers, nurses, teachers, or work in service industries suffering layoffs. I’m one of the few for which shelter in place looks a lot like my normal life.
OOOO guys I have an old oil portrait that kinda scares me cause I feel like it’s looking at me. I may give it the vintage modern treatment this weekend 🙂 #emfluenced
Your silhouette wall has just inspired me.
In downsizing, my mother recently handed off a number of things she saved from my childhood. One was the simple head and shoulder silhouette lines of me as a child pressed into this heavy tin foil type material and then framed. My mother remembers it was done by an artist at one of the little
Disneyland shops.
The good thing is he was really talented. If you compare to a photo of me as a child, it is definitely me. The bad thing is I was a naughty girl at times and apparently scratched some more lines into the small, adorable portrait. When I can finally unpack for the new house, am going to see if I can retrace the lines for a fresh start.
Anyone know if craft stores sell this soft tin material–and what it is called?
(If nothing else, it will be a chance to redeem myself. My mother was mad about this for years!)
I also have one of those silhouette portraits from Disneyland! Mac took us to get them as a surprise once (I have to admit, I was little confused at first, but now I love them). Sadly, no idea where to get the materials 🙁
These are wonderful ideas and I’m definitely going to try some!! Aside from looking for things to DO, people are desperate for things to do in order to HELP. Maybe a post for your audience on ways they can help…surgical mask sewing instructions, gown sewing instructions, donation opportunities, etc? I’d like that very much and I wonder if the rest of your audience would also.
I love these all so much! Another fun one would be a DIY “blind contour” drawing. It could look crazy, or you might get lucky with a frame-worthy gem, haha. @laurieanneart on Insta did a live how-to video the other day, which sadly I missed, but I believe she’ll be doing another soon!
oooh that sounds very cool
I have some blind contour drawings from when I was in high school over 30 years ago, and this diy art has made me think I need to dig them out of storage and frame one or two.
I love this post so much. Thank you! Would love a follow up post about diy framing. It looks like the kids’ art is float framed – I would love to know how to do that.
Hey JR, we actually had those professionally framed through a company called Framebridge. I’d actually love to learn how to DIY a float framing as well so we will do some digging!
I’d like to apply some cane to a piece of furniture. I can’t find any cane that isn’t too expensive to a “trial” DIY. Do you know of any sources? This is a terrific post for today!
Hey Teri! Here is link to one, I know that the quality is good but it is about $10 per foot and back ordered til mid May if you are able to hold off until then: https://www.onlinefabricstore.net/1-2-inch-open-cane-webbing-18-inch-wide-.htm?gclid=EAIaIQobChMIleeDgYC55wIVgpyzCh2q5gwYEAQYASABEgLNAfD_BwE
Here is another source but I am not sure of the quality: https://search.vandykes.com/search?view=grid&w=cane
Hope that helps and stay safe xx
Thank you!
Bless you folks for giving us daily posts to enjoy during this strange, hard time!
Can you elaborate on what kind of paper you attached your pressed flowers onto? Surely, not sure the paper that comes free inside the ikea frame….thank you!
I should add that I need to search for it online as all the art stores are closed right now.
I’m wondering, too. After reading this, I went out to my yard and picked a bunch of flowers for pressing. I was wondering how to mount them for framing when the time comes. I was thinking some watercolor paper would be good, but do you use glue to secure them?
I cannot wait for this!! I am working on a wood cone wall hanging for it! And also I cannot wait to try this pretty framed paper DIY. Thank you for rallying us all together
I love this!! I have a group that does a themed challenge every 3 weeks for #stopdropanddiy every round we do a different theme and it has to be $25 or under. I find the smaller the budget the more creative you get! I also love hearing Em get personal and share! I cannot wait to see all the creativity out there with this challenge.
Such great, fun, ideas!!! For sewers, try freestyle embroidery on your sewing machine!!! I studied textiles at uni as an elective and I learned sooo much. A lot of it was extremely technical, like how to create and make your own, unique fabric dye colours (Coronavirus moment there, people = full rubber body suit, rubber boots, hair net, robber Darth Vader-like face mask). I have those babies framed as a collage in the living room. But … THE most FUN 5hing ever, was learning how to freestyle machine embroider!!! Basically, most (though not all) machines can drop the “feed dog”. That’s the little, grippy foot thingo that grabs the fabric and moves it as you sew. Your sewing machine manual shows how to drop it (disengage it). Then, grab a piece of reasonable fabric (nothing too flimsy or silky), like basic cotton, not stretch thlugh. We’re talking old fashioned fabric. And move the fabric with your hands, so the needle is like a crayon that stitch-draws oon the fabric. Your hands can move the fabric to make circles, swirls, anything. Your hands move the fabric around instead of the feed dog, so you can move it in any direction. It’s.… Read more »
Ugh! Sorry re typos. I can’t feel the tips of my fingers (neuro illness) = sooo many typos. ?
Ooo! I’m going to try this! I have some cotton canvas that would work great. Thanks for sharing!
Exactly what I needed to find today. Thank you for all of the inspiration! Kids and I will be happily creating❤️